Extended Warranty Setup Guide
Introduction
Step-by-Step Guide to Setup Extended Warranty
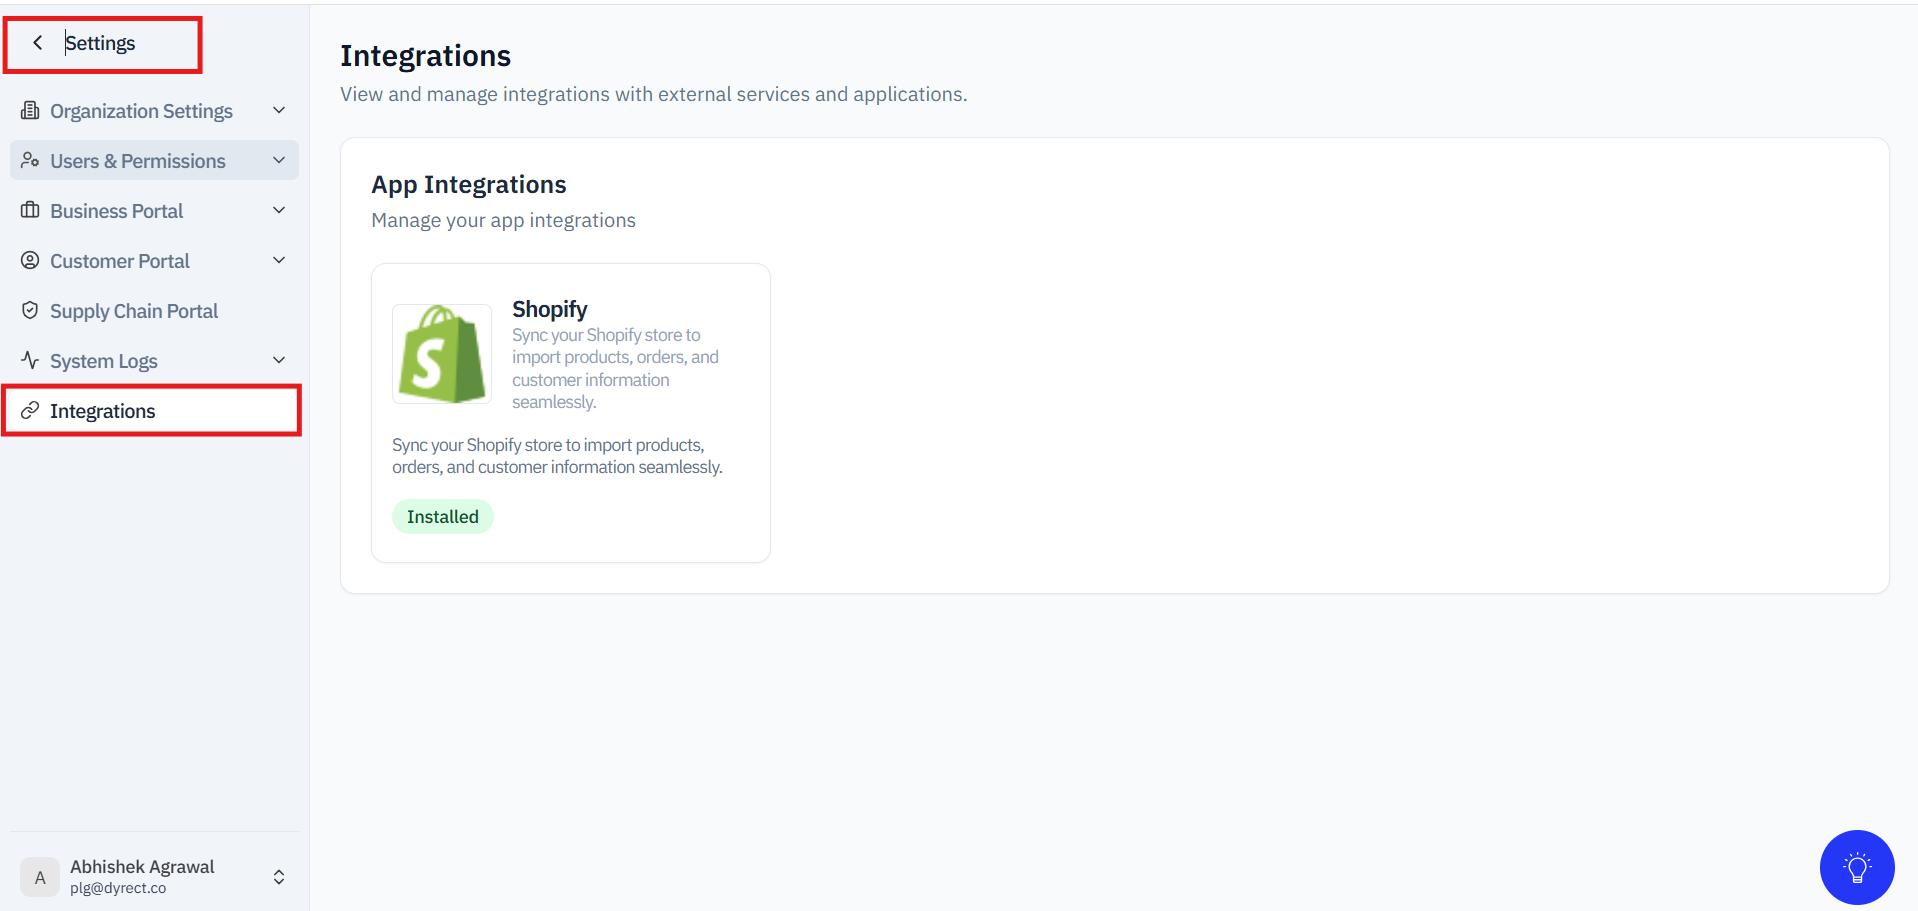
1. Navigate to Shopify Integration Settings
- Login to the Dyrect Back Office.
- Go to: Settings- Integration - shopify
- Open the Configuration tab.
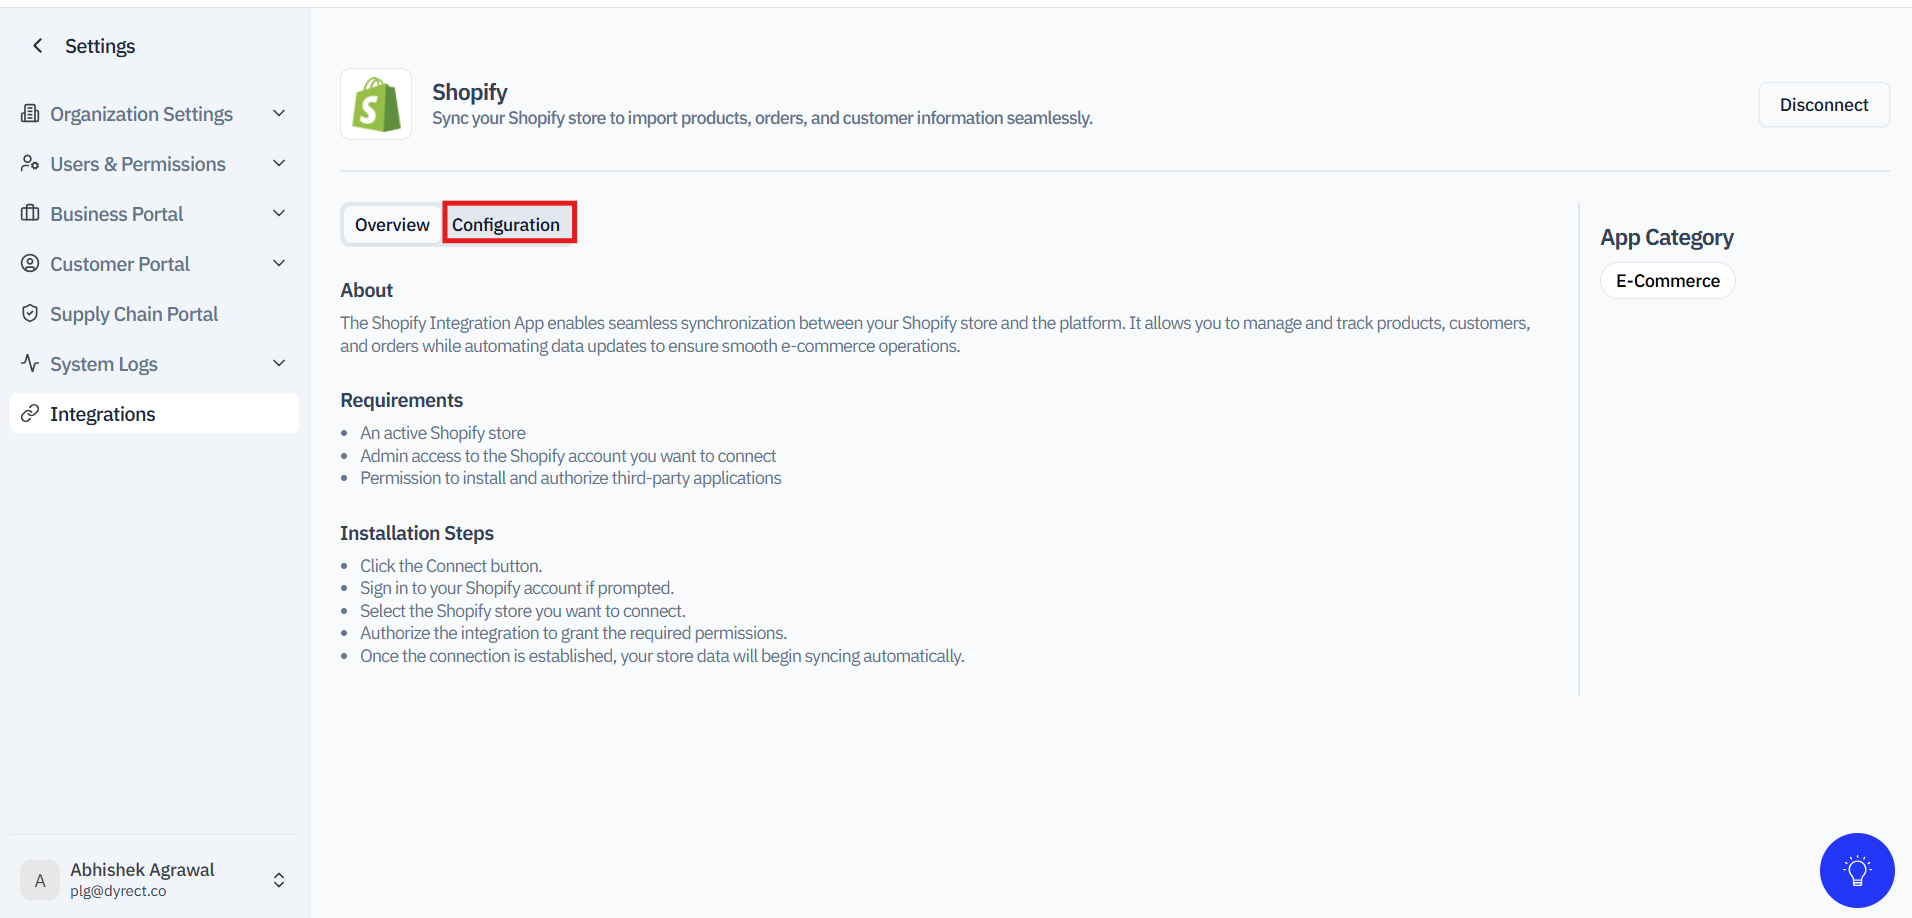
The following permissions must be enabled:
- Read Products
- Read Orders
- Read Customers
- Write Products
- Read Draft Orders
- Write Draft Orders
- Write Orders
Once enabled, click on Grant Permission.
This will redirect you to your Shopify store where you must approve the required permissions.
2. Create an Extended Warranty Plan
1. Login to the Dyrect Portal.
2. Navigate to: Contracts → Warranty Plan
3. Click on Add Plan.
4. A new page will appear on your screen.
Fill the Required Details
- Enter the Plan Name.
- Select the Category as Extended Warranty.
- Upload a Plan Image.
- Enable Allow Auto Registration if required.
1. Configure Term Duration and Pricing
Add different warranty variants such as:
- 6 Months
- 1 Year Coverage
- 2 Years Coverage
For each variant, configure:
- Term Duration
- Price Type
- Free
- Flat Rate
- Percentage
- Amount
After filling all details, click Create Plan to save the warranty plan.
3. Add the Extended Warranty Widget in Warranty Form
1. Now navigate to: Configuration → Form
Open the Thank You Page section of the Warranty Registration Form.
2. Add the Widget
- From the left-side Elements panel, click Add Elements.
- Select Extended Warranty Widget.
- Drag and place the widget on the Thank You page.
The widget will display the available extended warranty plans to customers after warranty registration.
3. Save the Configuration
Click Save to publish the changes.
Conclusion
By following the above steps, you can successfully configure and display Extended Warranty plans in the Dyrect back office. This allows customers to easily purchase additional warranty protection directly after product registration, improving customer experience and increasing warranty plan adoption.
FAQ
1. Where can I create an extended warranty plan?
You can create it from:
Contracts → Warranty Plan
2. Can I create multiple warranty coverage options?
Yes, you can create multiple variants such as 6 months, 1 year, or 2 years with different pricing structures.
3. What pricing types are supported?
The system supports:
- Free
- Flat Rate
- Percentage-based pricing
4. Where is the Extended Warranty Widget added?
The widget is added under:
Configuration → Form → Thank You Page
5. Can customers purchase the warranty immediately after registration?
Yes, customers can view and select available extended warranty plans directly on the Thank You page after warranty registration.
6. Is it mandatory to upload a plan image?
Yes, a plan image is required while creating the warranty plan.
7. Can I enable automatic registration for warranty plans?
Yes, you can enable the Allow Auto Registration option while creating the plan.
8. What happens after saving the widget configuration?
Once saved, the Extended Warranty Widget becomes visible on the customer-facing warranty registration thank you page.
Need Assistance?
If you require Dyrect to assist you with an integration, you can do so by following these steps:
- Create a support ticket by submitting a form here or email us at support@dyrect.co
- A support will reach out to you to request access to your Shopify store.
Schedule a Personalize Demo
Related Articles
How to Import Warranty in Bulk?
Warranties on products allow users to get repairs or replacements at no extra cost, provided the product is still within the warranty period. Importing warranties in bulk helps efficiently manage and register multiple warranties at once, ensuring ...How to Enable Cash Coupon Code in Warranty Registration Form
Overview The Cash Coupon Code feature allows businesses to provide discount coupons to customers after successful warranty registration. Once configured, customers can receive and redeem coupon codes directly from the Thank You page of the warranty ...How to Approve Warranty Registration?
The guide will walk you through the steps to manage approval-based warranty registrations. In this process, customer-submitted warranties remain in a pending state until reviewed and either approved or rejected by the client. Follow these simple ...Shopify–Dyrect Auto Warranty Registration Flow
Overview This document explains how Auto Warranty Registration works between Shopify and Dyrect. It covers the required setup in Dyrect and how customer orders on Shopify automatically create warranty registrations in Dyrect. This flow helps ...How to Edit a Warranty Registration?
Warranty registration is when customers sign up their purchased products to start the warranty coverage. This usually involves entering product details like serial numbers and purchase dates, as well as personal information like contact details. This ...